...
1. Click on the tab 'Scheduler', to configure a schedular of the SLA
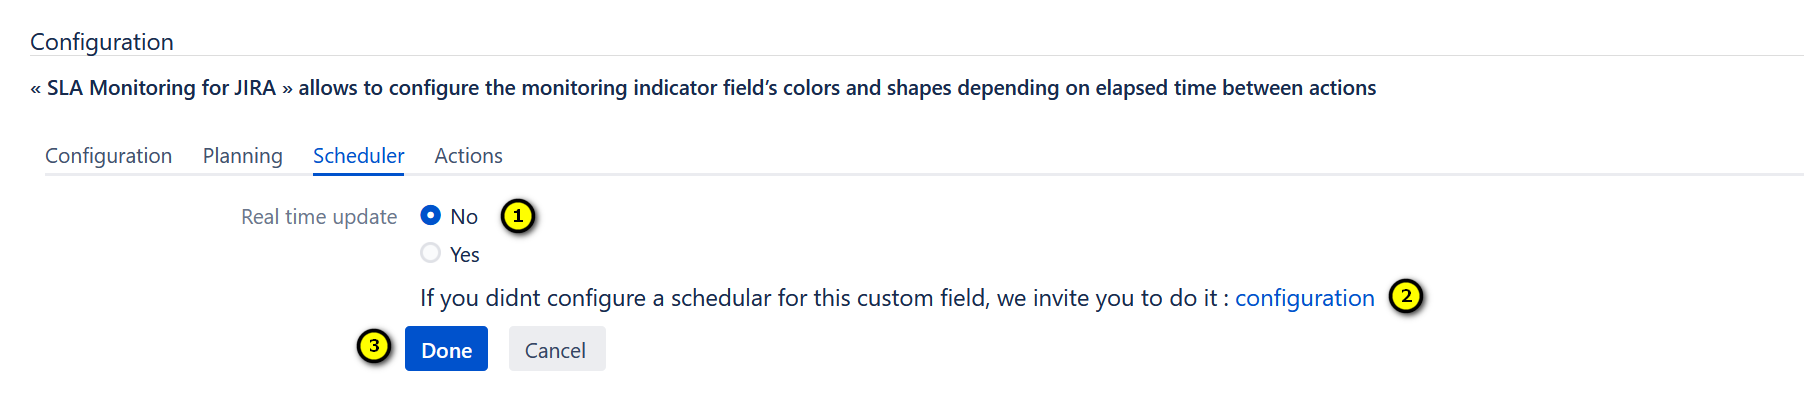
- Is it a real-time update? Click Yes or No
- Click on
to access to the screen of the configuration of the schedulerSommaire - Save the configuration by clicking on the button 'Done'. Else, click on the button 'Cancel', to cancel the configuration of the scheduler
...
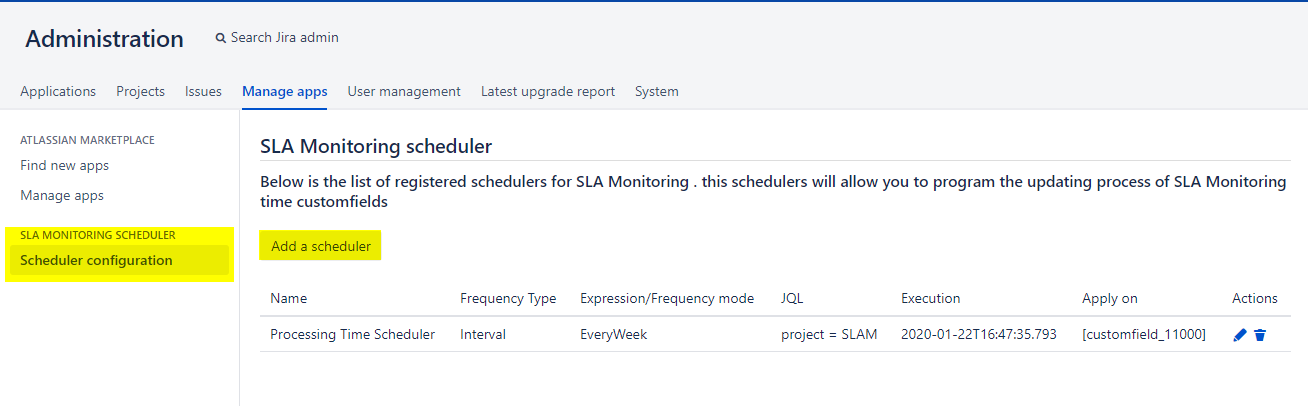
The configuration of the scheduler
There is are two ways to access the screen of the configuration
- Following the path: Administration > Manage Apps > SLA Monitoring scheduler > Scheduler configuration >Click on "Add a scheduler".
- Click on the button configuration on the tab 'SchedularScheduler'
A new screen is displayed, we'll define the settings of the scheduler
...
- Set the name of the scheduler;
- Set the frequency type;
- If frequency type is "Cron" we have to set the Cron expression Ex : 0 0 17 ? * * * which means that it will be executed every day at 7pm7 pm. For the frequency type "Interval", we have three choices:
- Set the JQL request that returns the list of issues to be processed;
- Select the customfield that we created previously;
- Click on the "Add" button to save the configuration.
...