Please refer to
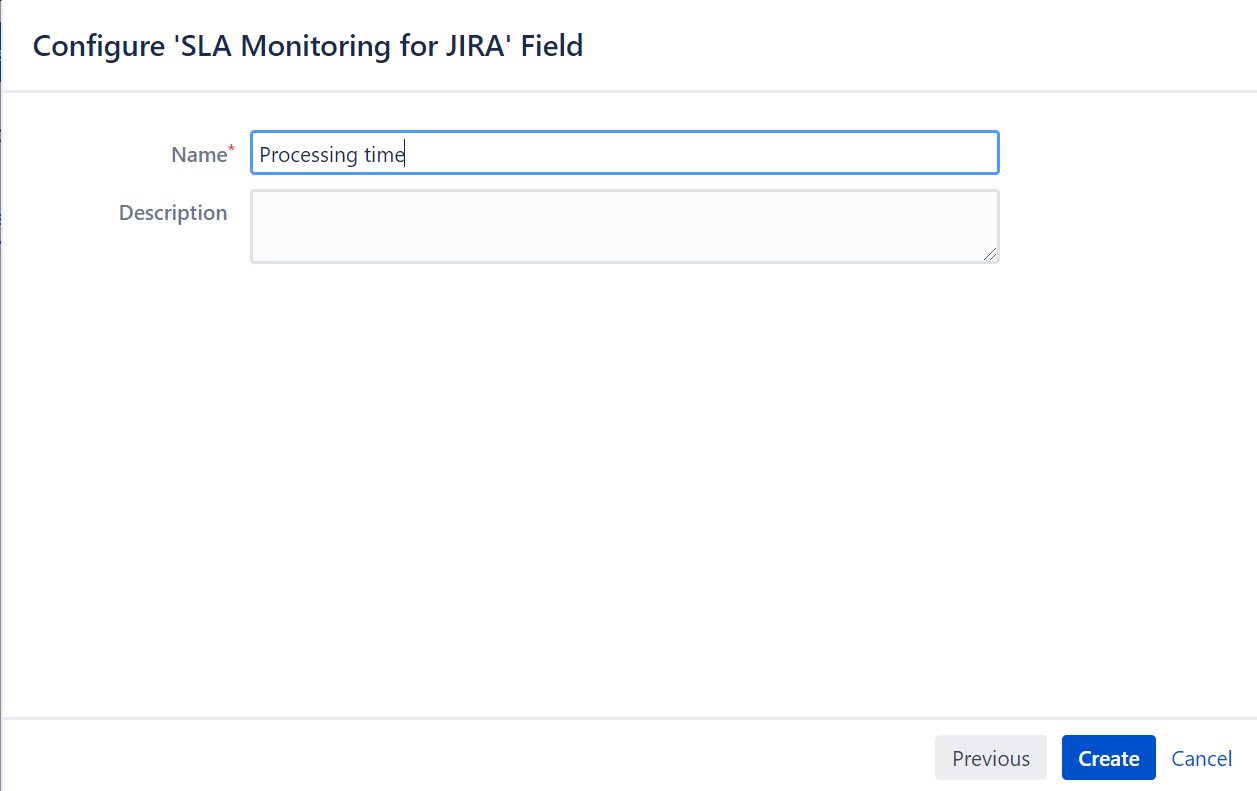
Create the custom field
We choose 'Processing Time' as the name of the custom field.
Configure the SLA custom field
After the creation, we configure the custom field
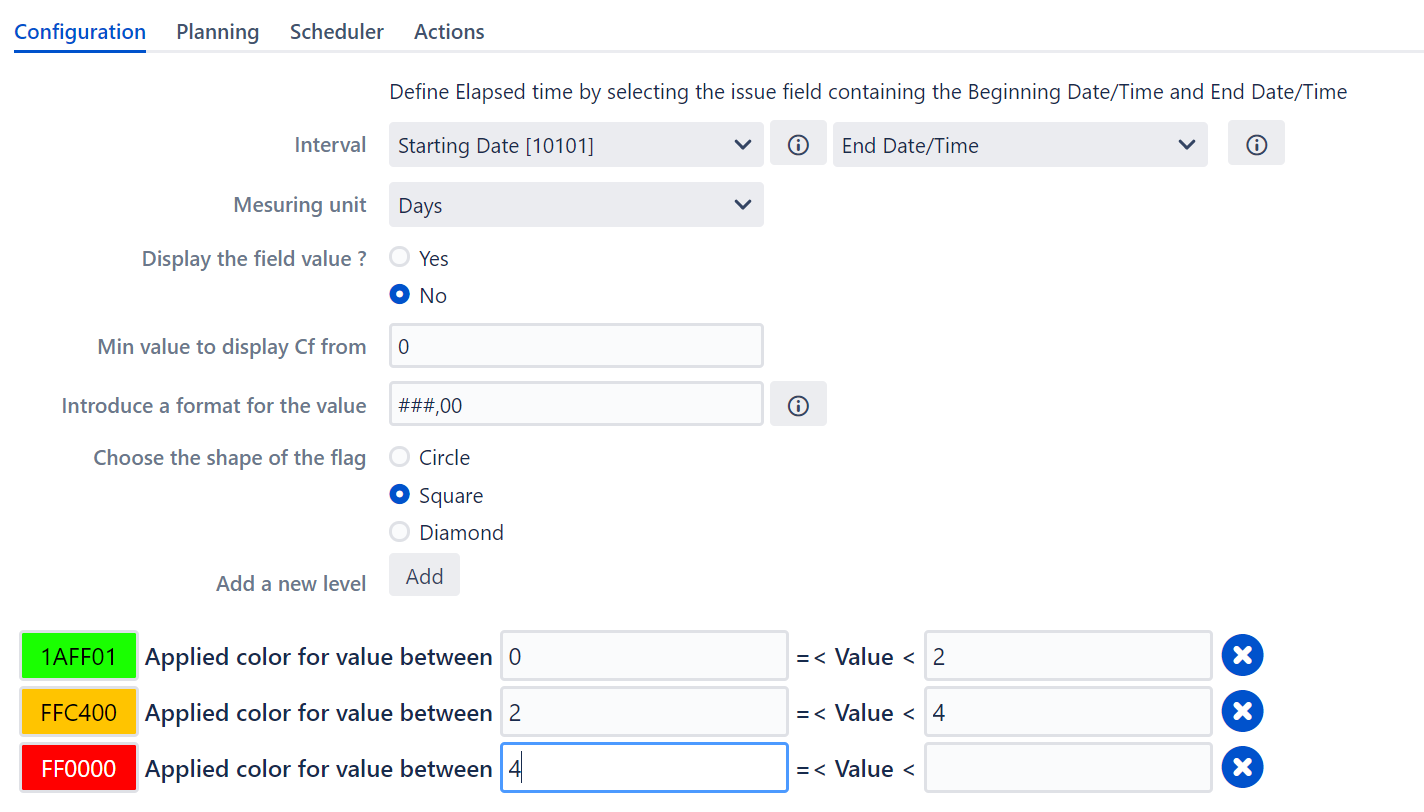
1. Configure the indicators
The start date is configured in the field 'Starting date'
The End date/time is configured by default to current date
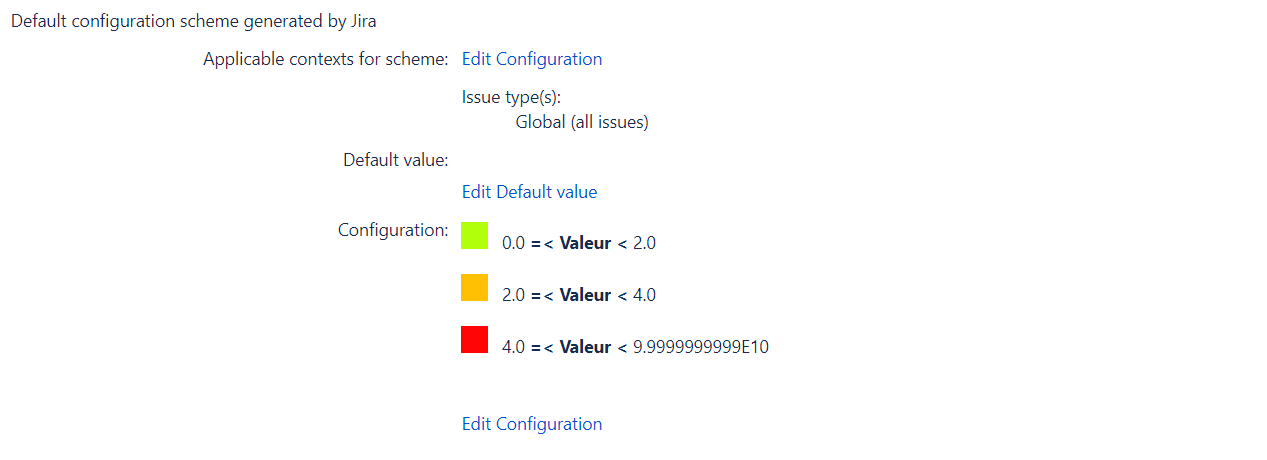
We create 3 levels of indicator
- Green between 0 and 2 days
- Orange between 2 and 4 days
- Red between 4 days and undefined value ( >4 days)
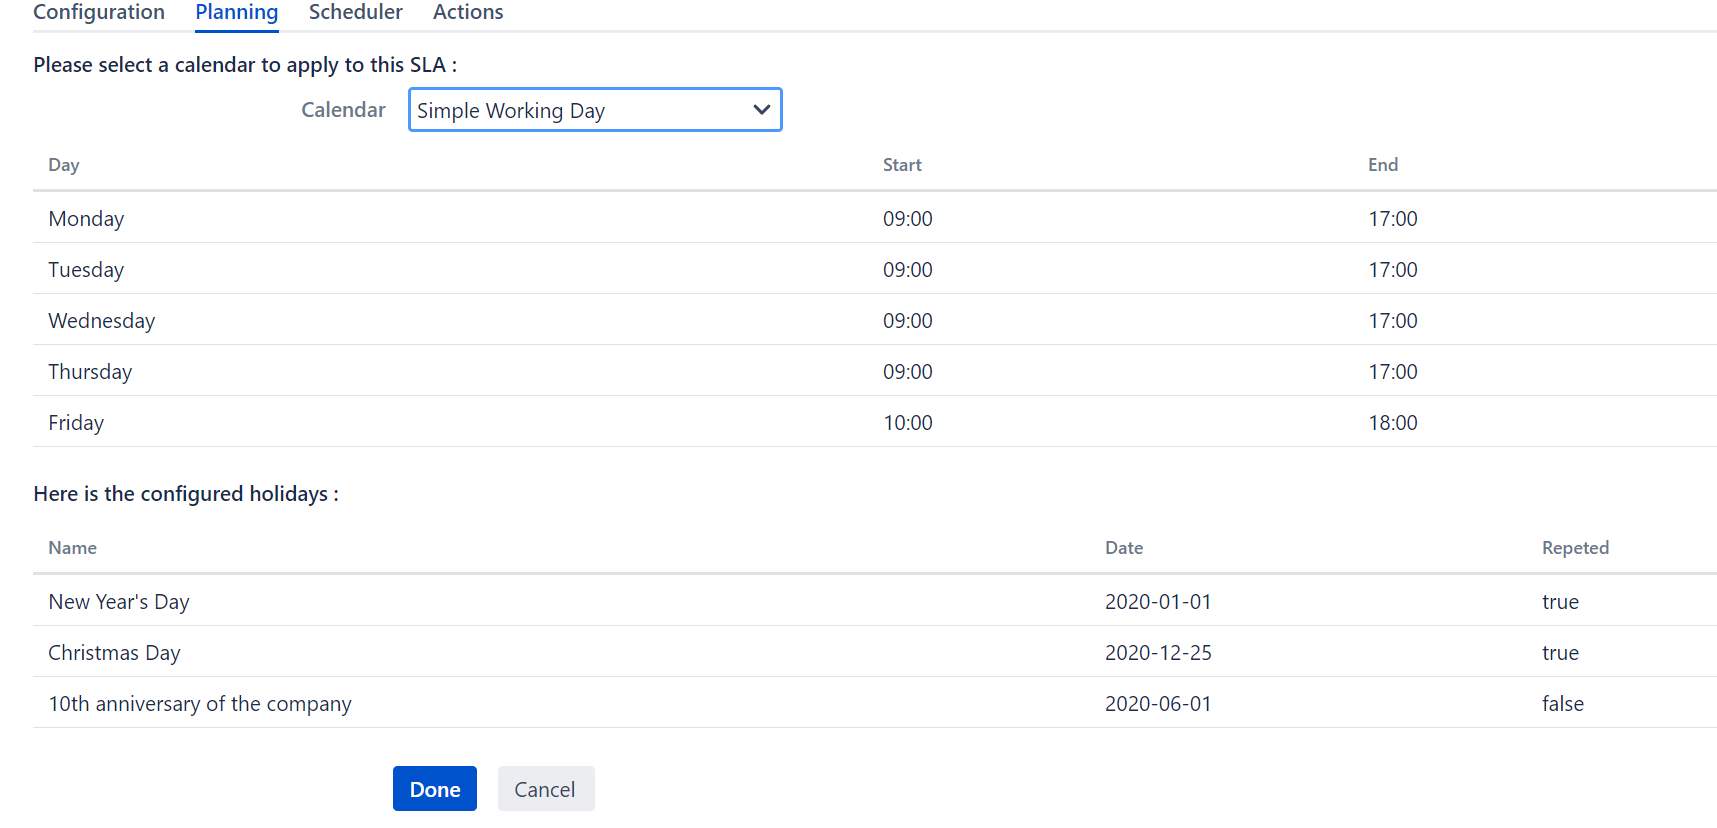
2. Assign the calendar
we need first to lookup for the calendar that we created in the first step ( I. Create a working calendar)
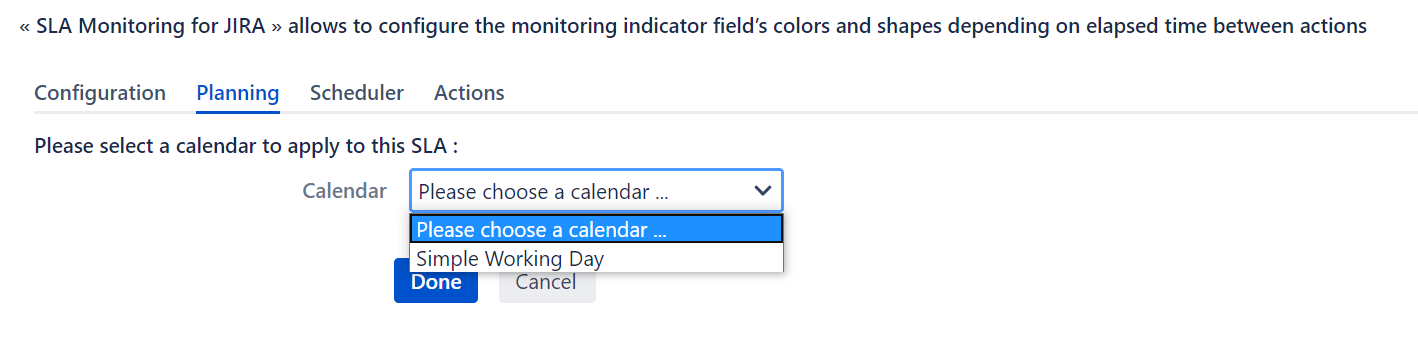
The screen of the chosen calendar will be displayed
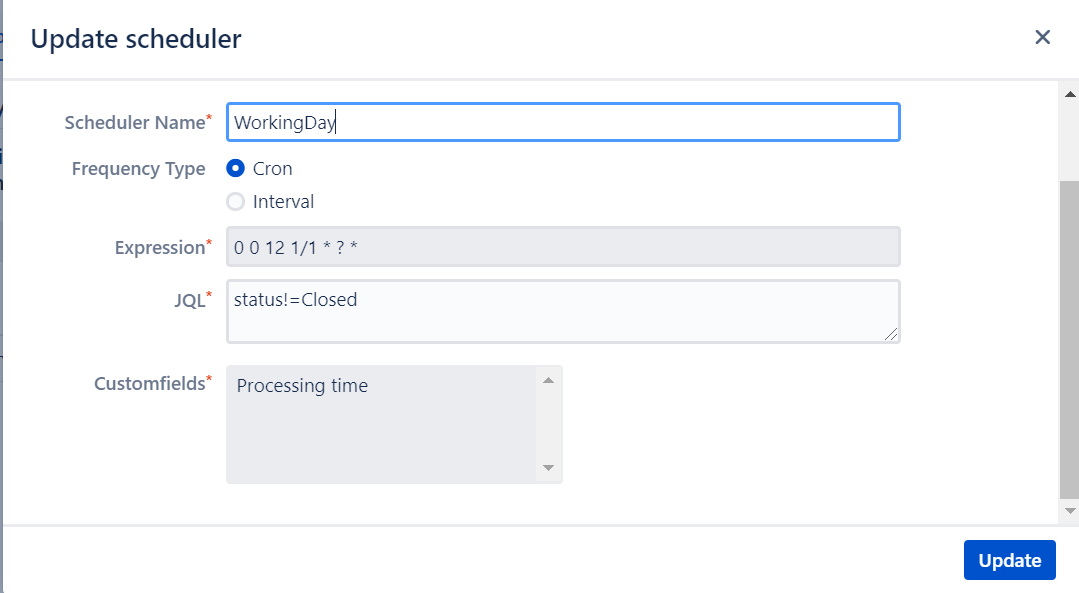
3. Configure the scheduler
in the tab 'scheduler', we will configure the scheduler

Click on 'Configuration', and the screen of the Scheduler will be displayed ( or access to the path: Administration > Manage Apps > SLA Monitoring scheduler > Scheduler configuration >Click on "Add a scheduler". )
4. Add an action to be executed for each level
In the tab 'Actions', we will configure the action to execute for each level
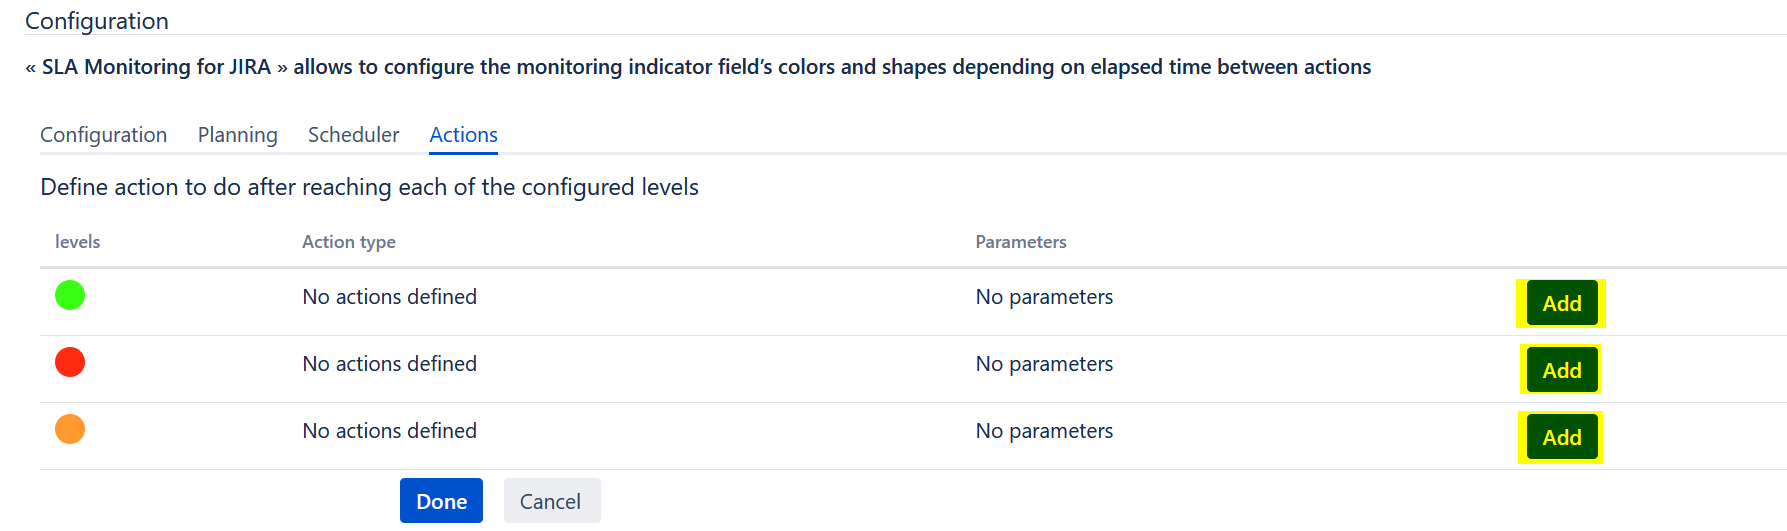
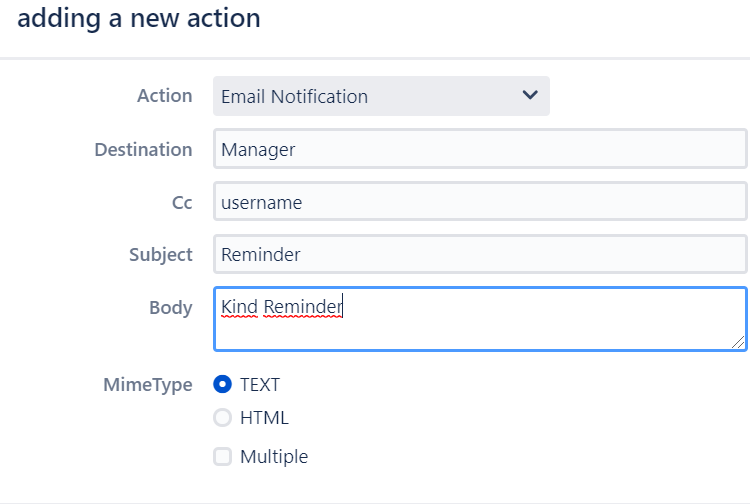
For the green level, we add a notification action
For the orange level, we add a custom action as follows:
1. create the groovy file in the following path: Atlassian/Jira/KeplerTechnologies/custom-actions, The groovy filename is: ActionToDo
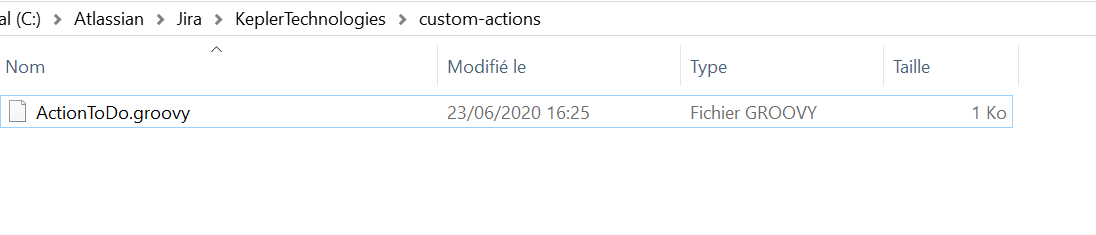
2. Back to the configuration, add the groovy filename in the new action. (the filename ='ActionToDo')

For the Red level, we add both actions notification and custom action.

By clicking on 'Done', the configuration of the SLA will be saved.